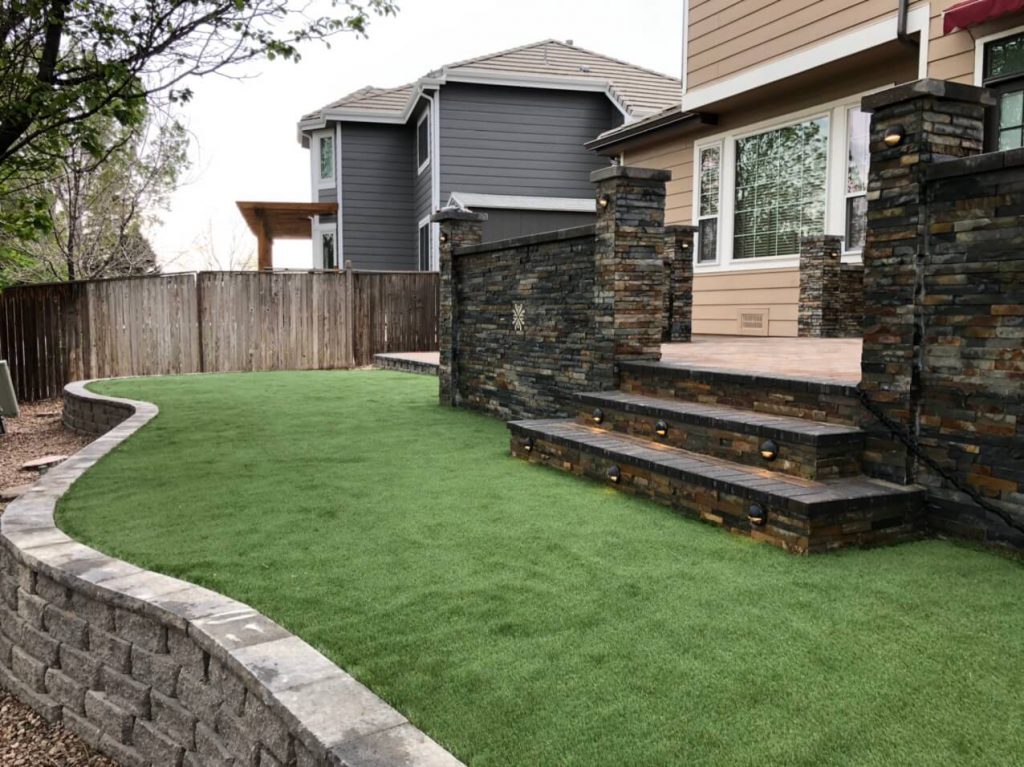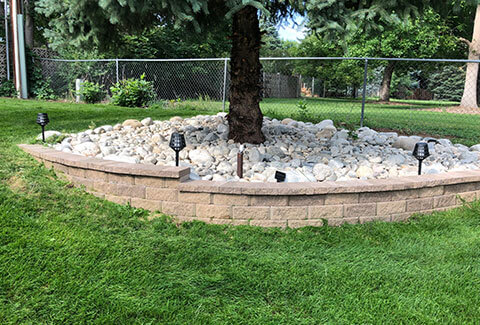
Currently, the need to use artificial grass to create a green space for the garden is a fairly new trend and is chosen by investors for creating a convenient, safe and aesthetic green space, beauty in your own home.
Creating a garden with artificial grass is not too difficult and the construction is also very easy and convenient.
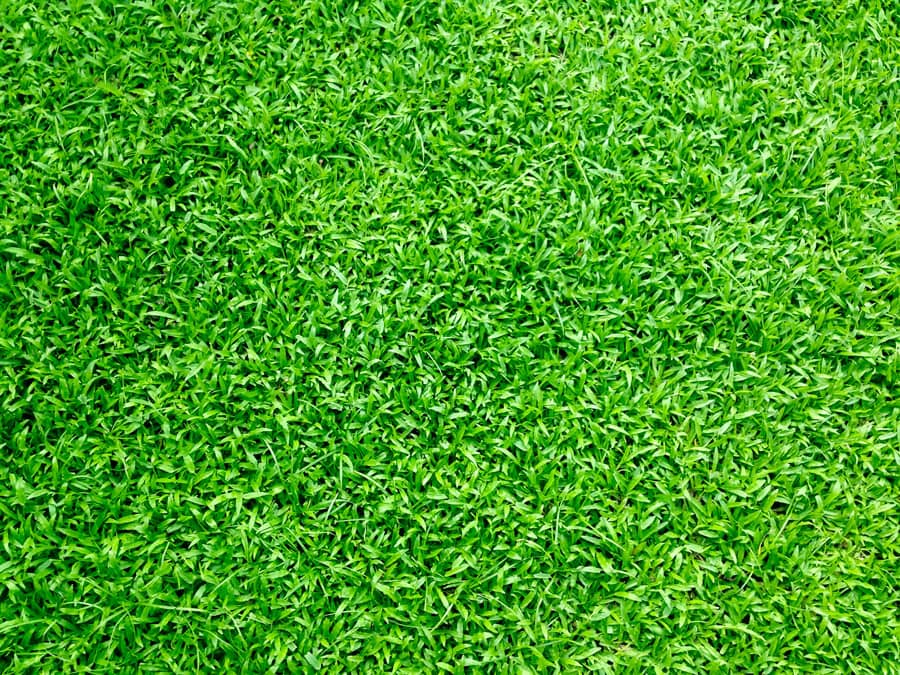
Step 1: Choosing Artificial Grass Products for the Garden
The first stage before proceeding to design a house, design a garden for your living space, you need to choose the right type of artificial grass. The color and size of the garden artificial grass should be in harmony with the overall house.
A few things to keep in mind when choosing the right artificial grass are the height of the grass, the distance between rows, the number of stitches, the base layer, and the grass fibers. These selection criteria will depend specifically on your usage needs and design ideas.
See more: Experience in choosing artificial grass for the garden
Step 2: Background Treatment When Building Artificial Grass in the Garden
After choosing the right type of artificial grass for the garden, you need to proceed with the treatment of the ground before proceeding with the construction and design of the green space for the house.
Case 1: Treatment of Hard Ground
If your land is already a hard foundation such as tiled floor, concrete floor, hard stone foundation, … then you just need to clean, clean the ground to proceed with grassing.
Case 2: Treat Natural Soil
If your foundation is natural ground, a low-lying ground, you need to handle it
The reason is that, artificial grass is designed with a rubber base, quite thin, so it will have to be spread on hard ground. Avoid situations:
- Low-lying ground causes subsidence when stepping on. Or wearing high heels will puncture the lawn.
- The natural ground is often uneven, so the drainage is poor, creating puddles on the artificial grass field.
- Because the grass base is made of rubber, if it is spread directly on the damp ground, the grass base will easily rot, reducing the life of the lawn.
To overcome the above situation, we will need 1 more step “Preparing the background before installing artificial grass”
- Step 1: Clean natural weeds, spray herbicides to avoid the arising of natural grass that affects the artificial grass.
- Step 2: Lubricate the pre-determined garden floor to flatten the yard.
- Step 3: Then spread crushed stone, tile or pour concrete.
Note: If you install the lawn in a low-traffic area and want the ground to be ventilated (such as in the case of spreading grass in the garden, around the trees, …) then you can keep the ground and spread artificial grass.
Step 3: Installing Artificial Grass for the Garden
There are two ways to install artificial grass in the garden: fixed installation and non-permanent installation. Fixed installation means that we will fix the lawn at that position and not move it. Non-permanent installation means that the lawn can be moved if desired.
With these two installation methods, we will have different construction methods. With a fixed installation, we will fix the lawn to the foundation. For non-fixed installation, we will use tarpaulin to fix the lawn to the tarpaulin (not fixed to the floor)
Case 1: Installation Is Not Fixed
- Covering the garden artificial grass: You will proceed to spread the grass rolls close together to proceed with the installation. Note, the grass rolls should be spread in the same direction as the grass to ensure the aesthetics of the lawn in the future.
- Position the grass rolls by pulling them together to make the lawn glue. Use tarpaulin below to paste – connect 2 lawns.You can use 20cm or 30cm wide tarpaulin to paste. Normally, with the garden artificial grass line, we will often use a 20cm wide canvas.** Note, when fixing the lawn to paste, we avoid letting the lawns lie on top of each other and spaced far apart. This will cause a loss of aesthetics for the artificial turf field after finishing. It will cause the yard to have rough areas (if the lawn is stacked) or open (if the two lawns are spaced apart).
- After fixing the lawn and tarpaulin, we gently turn the grooves/edges of the grass to be connected, pour glue on the glued part that we turn over, use a 10cm wide board or cardboard to apply the glue evenly on the glued part. along the edges of the grass.Wait for 2-3 minutes to proceed to put the lawn down to the glue area.** Note, the two edges of the grass must be lowered together to prevent the grass fibers from sticking to the glue.With the edges of the lawn around the edge of the artificial turf, we will proceed to glue it directly to the ground to attach the fixed lawn to the background.
- After gluing, we use heavy objects on the glued edges to make sure the grass is glued firmly.
In this case, if we want to move the lawn to another location, we only need to peel off the grass outside the edge of the edge that has been glued to the background and move the entire large lawn (grass beds are attached with tarps.
Case 2: Fixed Installation
The same goes for non-permanent installations. But we will not glue the 2 edges of the grass to the tarpaulin, but will glue it directly to the background.
In this case, when removing the artificial grass carpet to another location, the background will be glued (due to the glue being applied directly to the background).
After construction, we should not walk on the grass so that the grass does not move, it is best to start using it after 12 hours.
So DTC Landscaping has introduced to you the very simple and convenient process of installing artificial grass for the garden. If you have a need for advice, construction and installation of quality artificial grass, the best price on the market, please contact us immediately for the fastest support.